Essential Steps to Properly Set Up Your Portable Weather Station
- Jan 7
- 3 min read
Setting up a portable weather station correctly is key to gathering accurate and reliable weather data. Whether you are tracking temperature, humidity, wind speed, rainfall, or barometric pressure, the placement and installation of your sensors affect the quality of your readings. This guide walks you through the essential steps to install your portable weather station so you can trust the data it provides for agriculture, environmental monitoring, education, research, or personal use.

Choose the Right Location
The first step is selecting an open and unobstructed area for your weather station. Avoid placing it near buildings, trees, or other structures that can block wind or cast shadows. These obstructions can cause inaccurate readings by affecting airflow, sunlight exposure, and precipitation collection.
Find a spot with at least a 10-meter radius free of obstacles.
Ensure the area is representative of the environment you want to monitor.
Avoid locations near heat sources like asphalt, concrete, or machinery that can raise local temperatures.
Mount Sensors at Proper Heights
Different sensors require specific mounting heights to measure conditions accurately:
Temperature and Humidity Sensors: Mount these about 1.25 to 2 meters above the ground. This height reflects the air people experience and avoids ground heat effects.
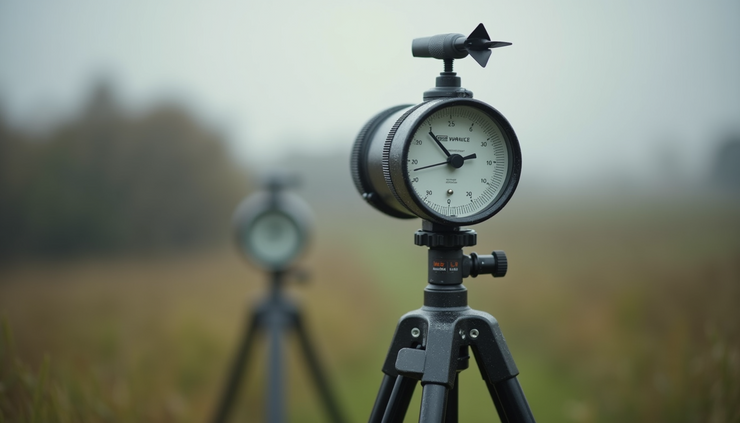
Anemometer (Wind Speed and Direction): Place this sensor at 10 meters above ground level if possible. For portable stations, mount it as high as your setup allows, ideally on a mast or tripod.
Rain Gauge: Position the rain gauge at least 30 cm above the ground and away from obstructions that could block rainfall.
Barometric Pressure Sensor: This sensor is usually housed within the main unit and does not require special mounting height but should be shielded from direct sunlight and rain.
Secure the Station Firmly
A portable weather station must stay stable to provide consistent data. Use sturdy tripods, poles, or mounts designed for outdoor use. Secure the base with weights or anchors if necessary to prevent tipping in strong winds.
Check that all sensors are tightly fastened.
Use cable ties or clamps to organize wires and prevent damage.
Ensure the station is level to avoid skewed sensor readings.
Calibrate and Test Your Equipment
Before relying on your weather station, calibrate sensors according to the manufacturer’s instructions. Calibration ensures the sensors measure accurately and consistently.
Compare your readings with a trusted local weather station or official data source.
Perform test measurements over several days to confirm stability.
Adjust sensor positions if you notice irregular or inconsistent data.
Maintain Clear Sensor Exposure
Keep sensors clean and free from debris. Dust, leaves, or bird droppings can interfere with measurements.
Regularly inspect and clean sensors.
Trim nearby vegetation that may grow and block sensors.
Protect electronic components from water damage using proper enclosures.
Use Your Data Effectively
Once your portable weather station is set up and running, use the data to support your goals:
Agriculture: Monitor microclimates to optimize irrigation and protect crops.
Environmental Monitoring: Track local weather changes and contribute to citizen science.
Education and Research: Provide hands-on learning and data collection opportunities.
Personal Weather Tracking: Plan outdoor activities and stay informed about local conditions.
Regularly download and back up your data to avoid loss. Consider integrating your station with weather apps or online platforms for real-time monitoring and alerts.


Comments