Essential Guide to Measuring Light Levels Accurately with a Lux Meter
- tass peters
- Jan 6
- 3 min read

Measuring light levels precisely is crucial for creating safe, comfortable, and efficient environments in workplaces, schools, laboratories, and industrial settings. A lux meter is the tool designed for this task, providing accurate readings of illuminance—the amount of light falling on a surface. Using a lux meter correctly ensures compliance with lighting standards, supports energy savings, and enhances visual comfort. This guide explains how to measure light levels with a lux meter effectively, offering practical tips and examples.
Understanding Lux and Why It Matters
Lux is the unit used to measure illuminance, representing lumens per square meter. It quantifies how much visible light hits a surface, which directly affects how well people can see and perform tasks. For example:
Office workstations typically require 300 to 500 lux.
Manufacturing areas may need 500 to 1000 lux for detailed work.
Classrooms often target around 300 lux for comfortable reading and writing.
Measuring lux helps ensure lighting meets these requirements, preventing eye strain, improving safety, and reducing energy waste by avoiding over-illumination.
Preparing to Measure Light Levels
Before taking readings, prepare the environment and equipment carefully:
Choose the right lux meter: Select a device with a sensor suitable for your environment. Some meters have cosine-corrected sensors that better mimic human eye response.
Calibrate the meter: Check calibration status and recalibrate if necessary to maintain accuracy.
Turn off other light sources: Avoid interference from sunlight or reflections by closing blinds or curtains if indoors.
Position the sensor correctly: The sensor should be placed at the exact location where light levels need to be measured, usually the working or task surface.
How to Position the Lux Meter Sensor
Correct sensor placement is critical for accurate readings:
Place the sensor flat on the surface where the task occurs, such as a desk, machine table, or floor area.
Avoid shadows cast by your body or objects. Stand to the side or behind the sensor.
Keep the sensor away from reflective surfaces that can distort readings.
For overhead lighting, hold the sensor facing upwards at the task height.
Taking multiple readings at different points within the area helps capture variations in light distribution.
Taking Consistent and Reliable Readings
To improve reliability:
Take at least three readings at each measurement point.
Record the readings and calculate the average to smooth out fluctuations.
Measure at different times of day if natural light affects the area.
Note environmental factors like weather or window coverings that influence light levels.
Examples of Measuring Light Levels in Different Settings
Workplace Safety
In a factory, measuring light levels on assembly lines ensures workers can see clearly to avoid accidents. For example, a lux meter placed on the conveyor belt surface can verify that lighting meets the recommended 750 lux for detailed mechanical work.
Educational Environments
In classrooms, placing the sensor on student desks helps confirm that lighting supports reading and writing tasks. If readings fall below 300 lux, additional lighting or repositioning fixtures may be needed.
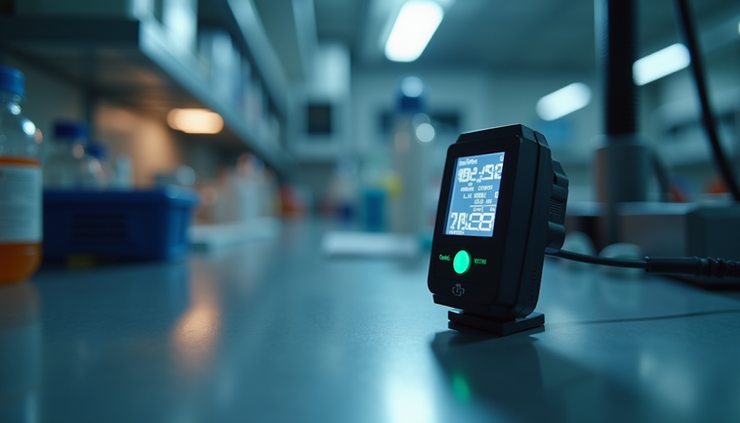
Laboratories
Precise light measurement in labs is essential for experiments requiring visual accuracy. Positioning the sensor at the bench surface ensures that light intensity meets specific standards for the type of work being done.

Common Mistakes to Avoid
Ignoring shadows and reflections: These can cause inaccurate readings.
Measuring at incorrect heights: Always measure at the task surface height.
Using uncalibrated meters: This leads to unreliable data.
Taking single readings: Multiple measurements provide a clearer picture.
Using Lux Meter Data to Improve Lighting
Once you have accurate measurements, use the data to:
Adjust lighting fixtures or add lamps where light is insufficient.
Replace bulbs with more energy-efficient options while maintaining proper lux levels.
Rearrange workspaces to maximize natural light without glare.
Document compliance with workplace safety and lighting regulations.


Comments